

If you are coming here from Darlys' blog, then you found your way to the CTMH Technique Blog Hop - this month we are showcasing the kissing technique. I had never tried this technique before so I had to do a bit of research and found two different methods so I decided to try them both for this post.
For the first card, I used the stamp to stamp kissing technique which is basically inking a pattern stamp, then using that as your "ink pad" for the plain stamp that you want to use on your creation. In this picture, you can see that I inked the banner stamp and used the back part of the star stamp to transfer the pattern to the card in a star shape. Tip to note: clean your transfer stamp each time, otherwise you end up with "muddy" transfer like you see on the right side.....I decided it was fine for this card but if you really want the white to show through, clean the stamp each time.

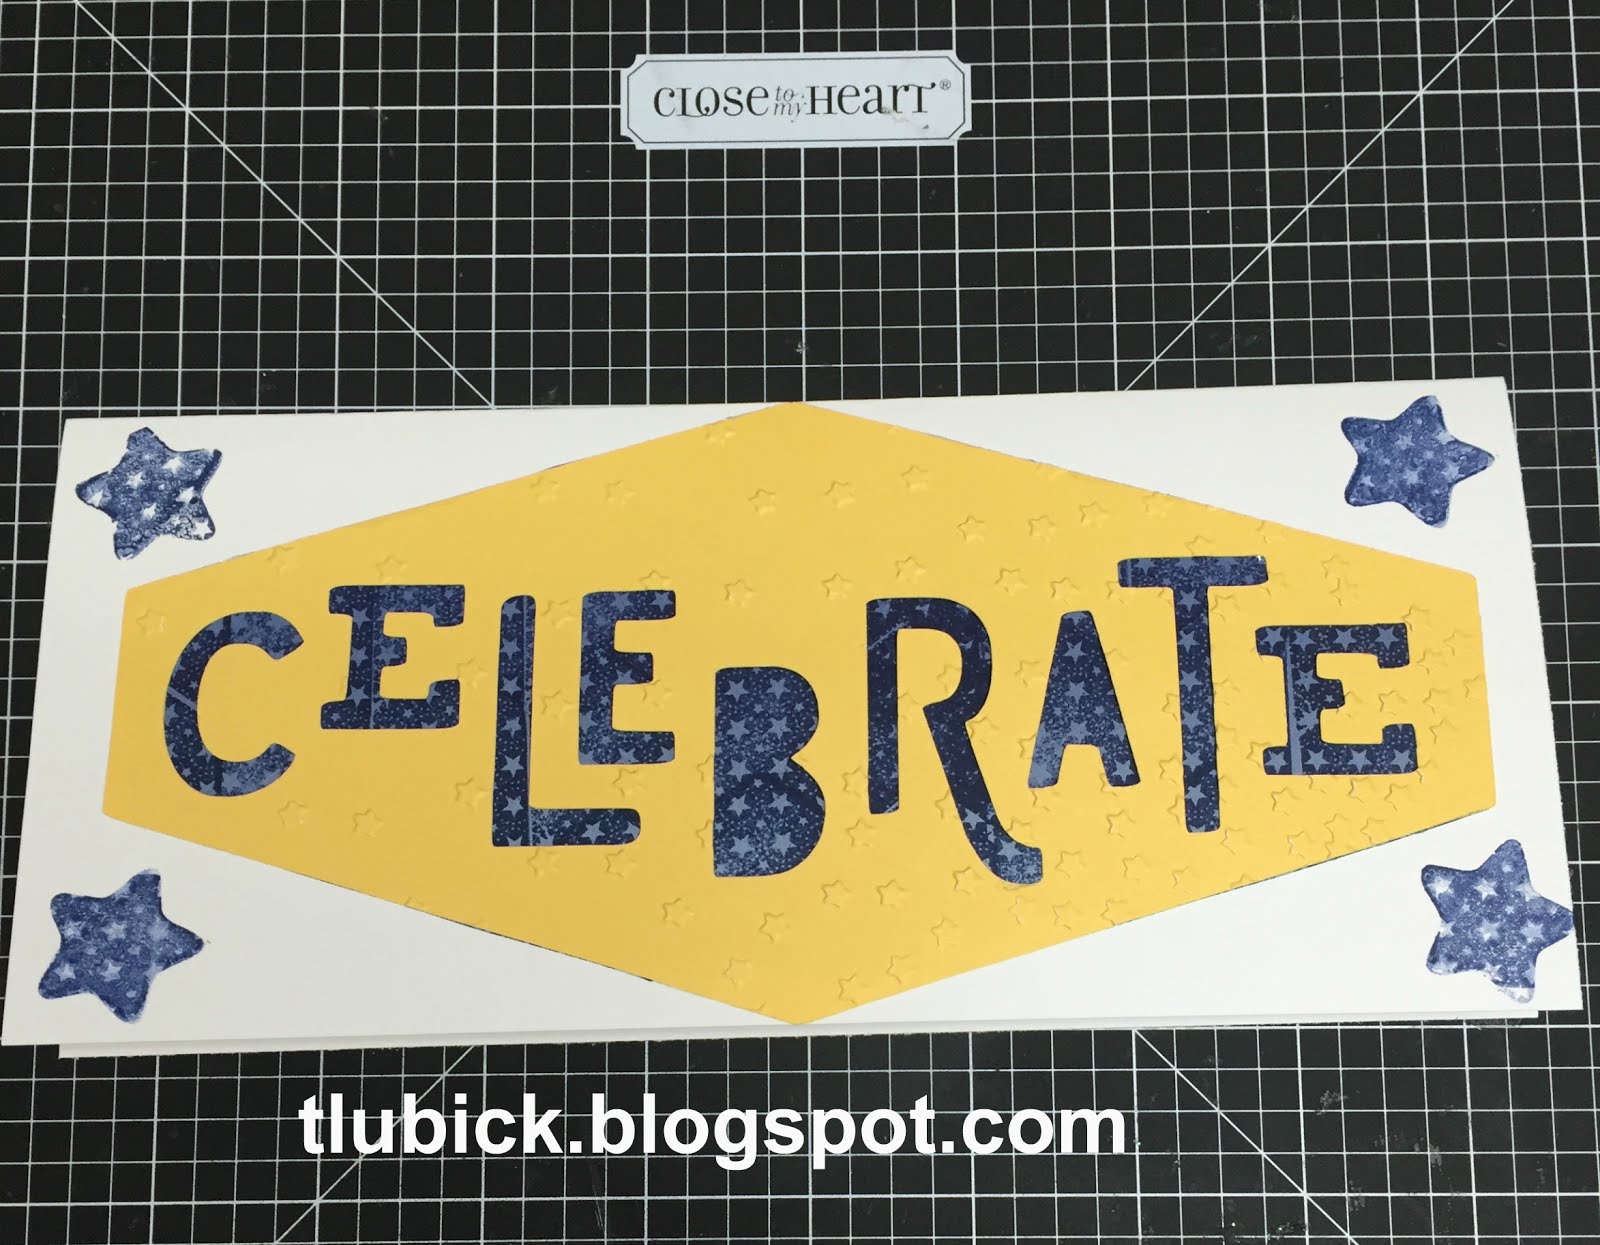
This is what I ended up with when I was done. I cut the Celebrate title at 4" from the Artistry Cricut cartridge using the pattern from page 19 with Canary paper then ran it through my Cuttlebug with the Confetti Stars embossing folder. The star is from the Casual Expressions stamp set while the pattern background is from a stamp set that came with the Artbooking Cricut cartridge. I cut the background paper from the Regatta B&T Duo paper then inked it with the pattern background. Ink color for this is Sapphire; I think this is such a pretty blue!
For the second card, I used the stamp to embossing folder kissing technique which is basically inking an embossing folder, then using that as your "ink pad" for the plain stamp that you want to use on your creation. In this picture, you can see that I inked the confetti stars embossing folder with Sapphire ink and used the back part of a long banner stamp to transfer the pattern to the card. Tip to note: clean your transfer stamp each time and don't worry if the pattern looks like it's still on your stamp, it won't transfer if you've cleaned it. I had used the backside of a stamp and it seems like that part retains more of the color transfer than the front side of the stamp.

Here is the second card. I inked two pieces of Regatta B&T duo paper strips cut at 2" x 5" using the kissing technique. Next I cut the star border piece at 3.5" real dial size from the Artbooking Cricut cartridge using the pattern from page 65 with Canary paper. The title is from a stamp set that came with the Artbooking Cricut cartridge using Sapphire ink. I cut two zip strips from the Regatta B&T Duo paper at 5" and layered everything on the card. Note that the photo border will hang off the edge a bit, a quick trim with the scissors will take care of that.

Thanks for stopping by, if you are ready to move along in the blog hop, Haley is next up, I am sure she has something fun to share with us as well. If you want to learn more about the techniques or supplies used, keep on scrolling down.
Technique videos:
CTMH Video - Using two stamps
Splitcoast Stampers - Using an embossing folder and a stamp
Supplies used:
Paper: White Daisy, Canary, Regatta paper pack
Ink: Sapphire
Cricut collections: Artistry, Artbooking
Embossing folder: Confetti Stars
Stamp sets:
D1604 Season of Thanks
D1525 Casual Expressions

No comments:
Post a Comment